Chatbots can be annoying. We’ve all been there, screaming "representative" into the phone. Now, imagine your website making someone feel that way. Not great, right? That's why throwing a chatbot on your page isn't just about the tech novelty - it's about making it helpful, not a hindrance.
Here’s where we flip the script. Instead of a bot that frustrates, we're going for one that feels like chatting with an old friend. Easy, helpful, maybe even fun. This guide isn't about just setting up a chatbot. It’s about setting it up to be liked.
We’ll walk you through integrating ChatGPT with your website. It’ll be like fitting the last piece into a puzzle. Your visitors won't hit walls; they'll find doors. Doors that open up to answers, solutions, and that human touch we all crave, even from a bot.
No fluff, no jargon, just a straight-talking path to a chatbot your users might actually enjoy talking to. So, grab a coffee and let's get your website a friendly bot pal.
Understanding ChatGPT Plugins
ChatGPT plugins are tools that let you add a chatbot to your website. Think of them like a helper that talks to your visitors.
These plugins use AI to chat, making them smart enough to answer questions and guide users. This is useful for many things.
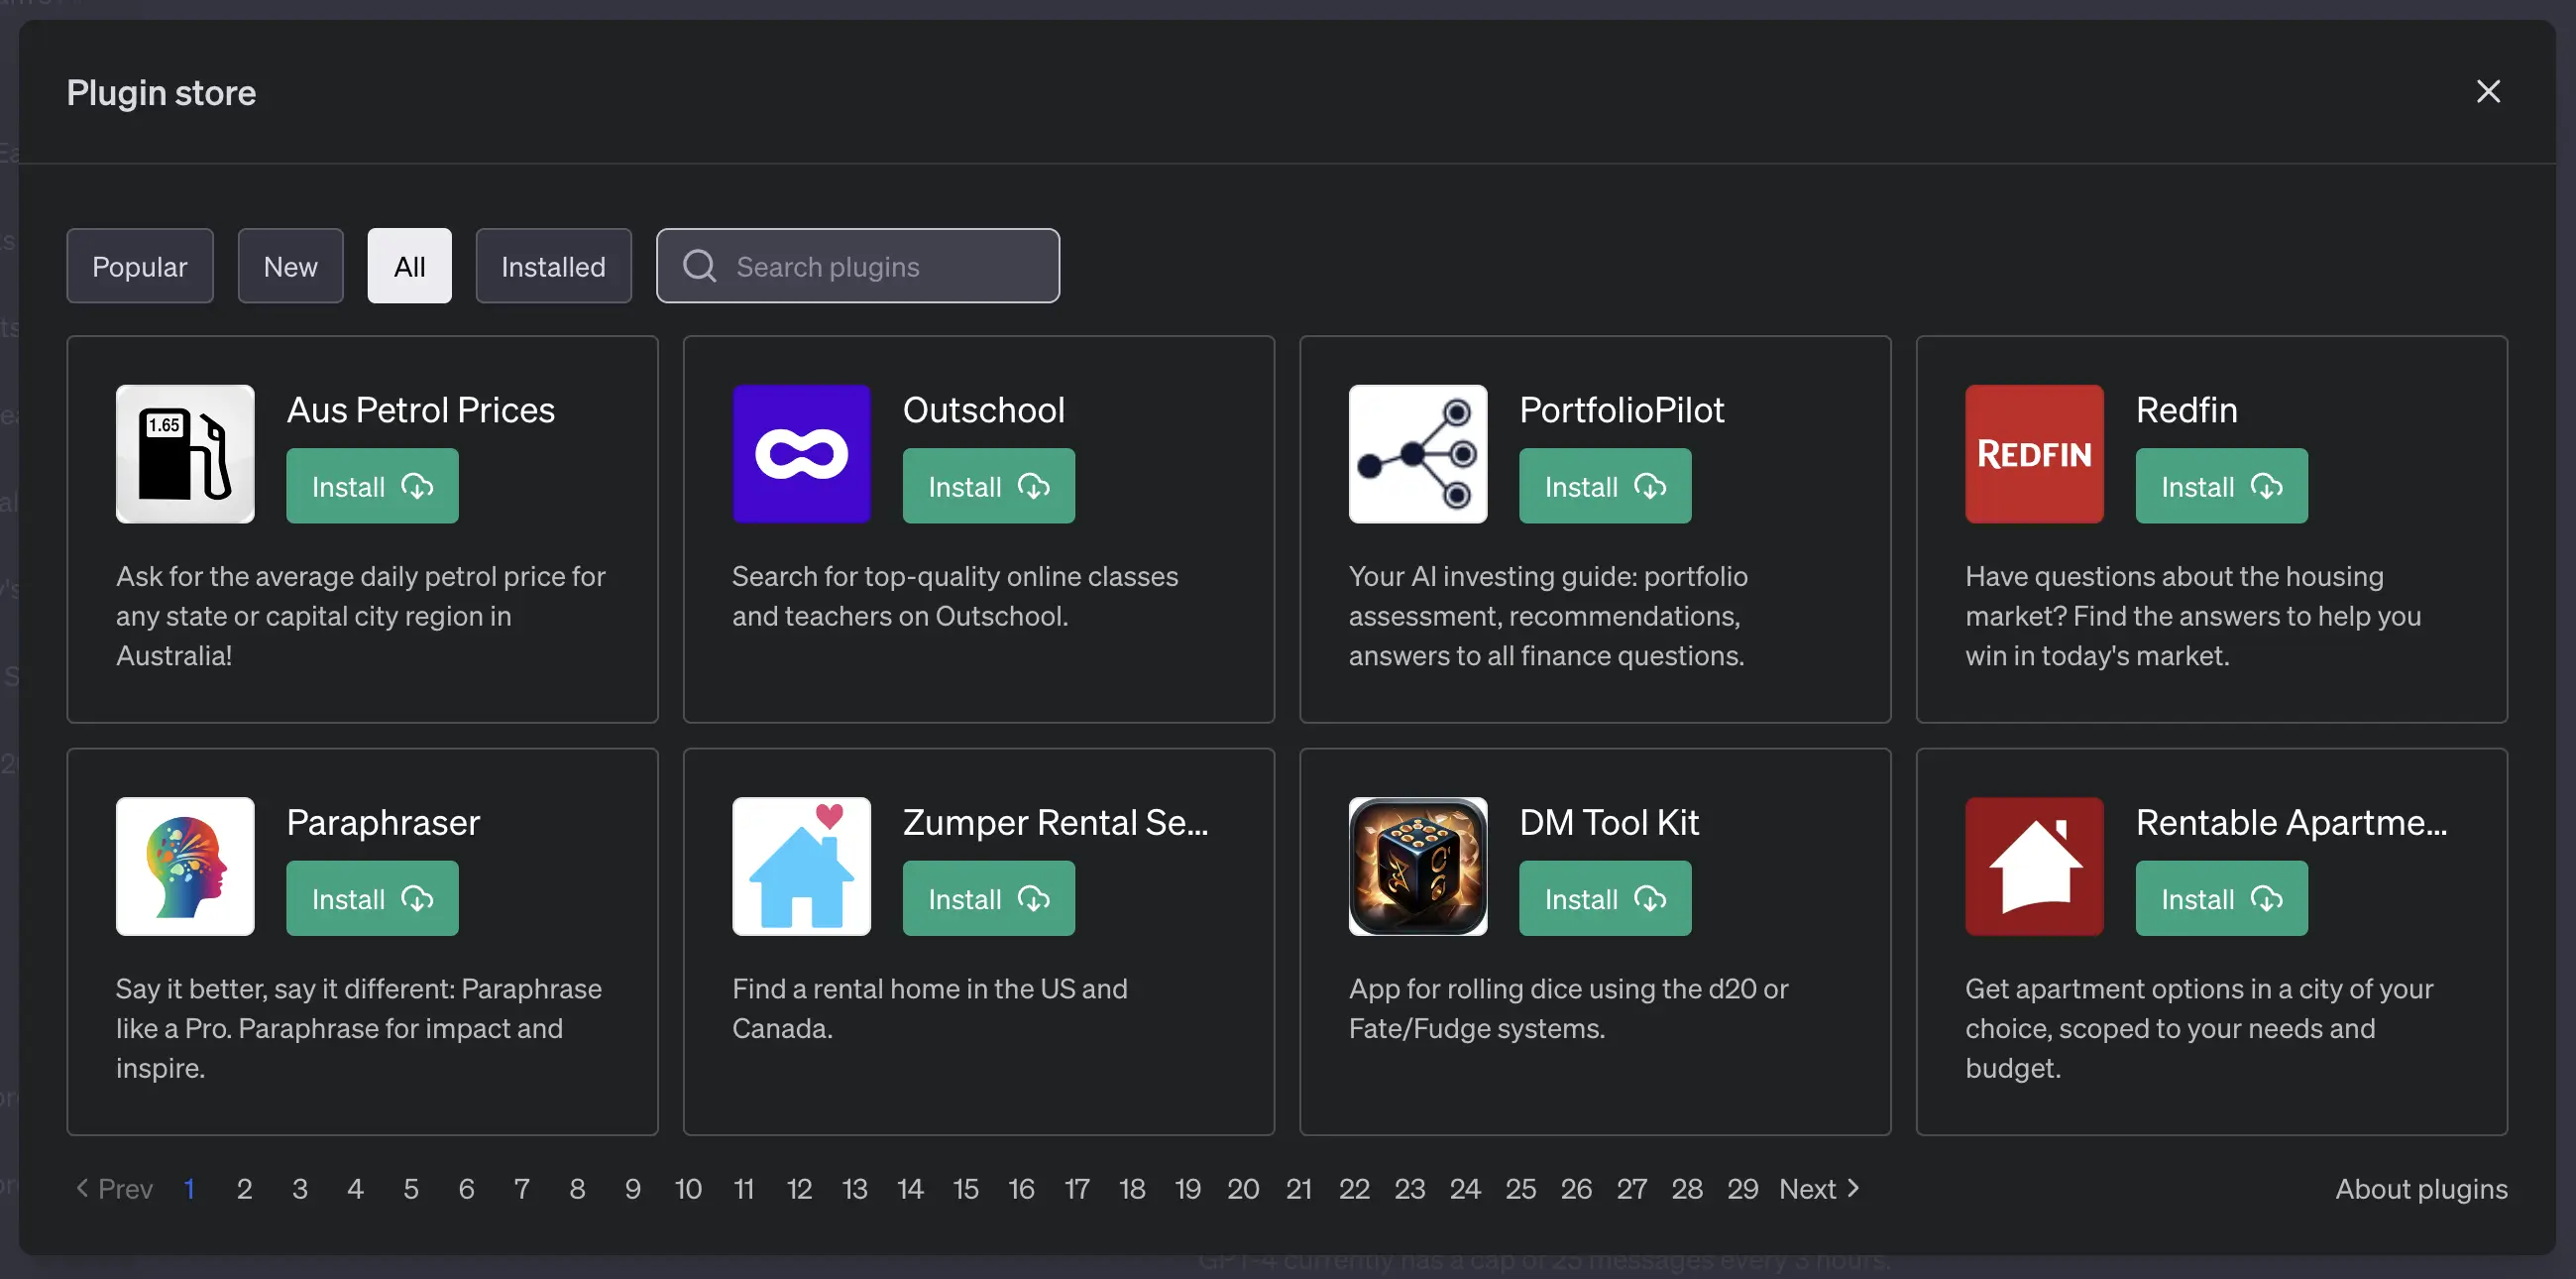
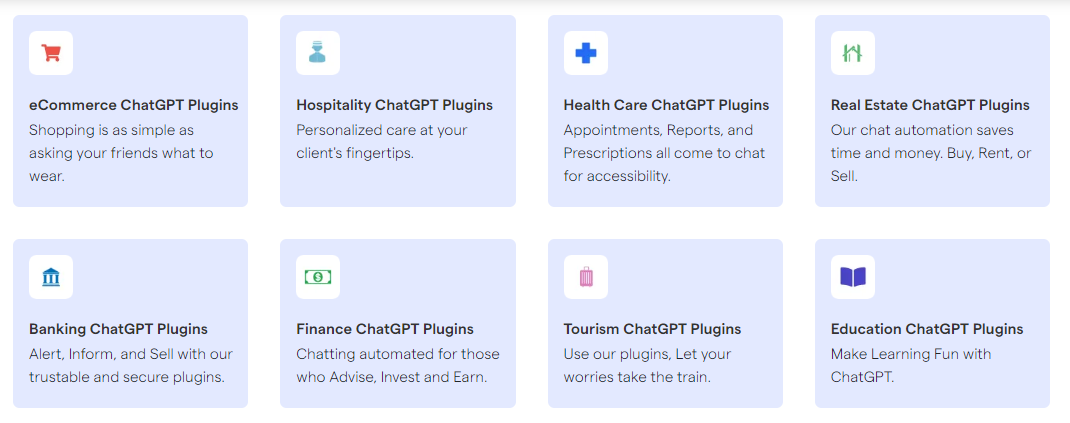
For example, if you sell things online, a ChatGPT plugin can help customers find what they're looking for. Or, it can answer common questions about your service. The cool part? It learns from each conversation, getting better over time.
In short, ChatGPT plugins make your website interactive, helping keep visitors engaged while making your life easier.
Prerequisites for Integration
Before you start, you'll need a few things. First up, a website. It doesn't matter if it's simple or fancy, it just needs to be yours. Next, you need an account with OpenAI. That's where you get access to ChatGPT.
Then, make sure you have some coding know-how or a friend who does. You'll be copying and pasting code, maybe tweaking it a bit.
Lastly, check your website's hosting setup. Some hosts have rules on running chatbots. Also, you want to make sure your site is secure. A secure connection (with HTTPS) is a must when using AI tools, to keep your users' chats private. That's it for the starting kit. Get these ready, and you're good to go.
Step by Step Integration Guide
In this guide, we'll walk you through the steps to get ChatGPT plugged into your website. It might seem like a big task, but we’ll break it down.
Think of it as putting together a piece of furniture. You follow the steps, use the right tools, and before you know it, you’re done.
Let’s get into it.
Signup/ Login to OpenAI Account
First up, head over to OpenAI’s website. You’ll need an account to get things rolling. If you’ve already got one, just log in.
If not, sign up. It’s straightforward - email, password, the usual drill.
Navigate to the ChatGPT Section
Once you’re in your OpenAI account, look for the ChatGPT section. This is where you’ll find all the magic sauce for your chatbot.
It’s also where you’ll start setting things up for your website.
Generating API Keys
API keys are like secret codes that let your website talk to ChatGPT. Here’s how you make one:
- In the ChatGPT section, find the API or key generation area.
- Click on “Generate” or whatever button they have.
- Once it pops up, save it somewhere safe. You’ll need this key later, so keep it handy.
Implementing the API Key into Your Website
Now, the techy bit. You’ll place this API key into your website’s code. It's not as scary as it sounds. Here’s a simplified breakdown:
- Choose where you want ChatGPT to live on your site. Most folks go for the bottom right corner.
- You’ll need to add some HTML and JavaScript code to your site. OpenAI provides this code, so you don’t have to write anything from scratch.
- Replace the placeholder in the code with your actual API key.
- Test to see if it’s working. Send a message and look for a reply.
Configuring the ChatGPT plugin
After getting the chatbot on your site, you might want to tweak settings. This could be things like:
- The name of your chatbot.
- How it greets people.
- What it says when it can’t answer a question.
Head back to the ChatGPT section in your OpenAI account. Look for “Settings” or “Configuration.” Here, you can make those changes. Don’t forget to save your settings.
Testing Integration
Testing time. Here’s what to do:
- Go to your website like you’re a regular visitor.
- Find the chatbot and start a conversation.
- Try asking different questions, especially the kind your website visitors might ask.
Look for any hiccups or weird responses. If something’s off, go back and check your settings. Sometimes, a small tweak is all it takes.
Troubleshooting Common Issues
Ran into a snag? Here are a few common issues and quick fixes:
- Chatbot isn’t appearing: Check the code snippet on your website. Make sure it’s exactly as provided, especially where you inserted your API key.
- Chatbot isn’t responding: Double-check your API key. If there’s a typo or if it was pasted incorrectly, it won’t work.
- Responses are off-topic: This might be a configuration issue. Review your ChatGPT settings to make sure it understands its purpose.
Integrating ChatGPT into your website can seem daunting, but like any good project, it’s all about taking it one step at a time. With your API key, a bit of code tweaking, and some setup, you'll have a working chatbot ready to engage with your visitors.
Remember, testing and troubleshooting are your best friends. They ensure that your chatbot provides the help your visitors need. So, there you have it, a chatbot up and running on your site.
Testing Integration
After you've set up the ChatGPT plugin on your website, it’s crucial to test it. Think of this as a test drive for a car. You want to make sure everything works smoothly before you hit the road.
First, visit your website like any other visitor would. Look for the ChatGPT chat window and click on it. It’s showtime.
Start a chat.
Throw in a “Hello” or ask it something you think your visitors might ask. The goal is to see how it responds. Is it friendly? Quick? Does it make sense?
Next, try out a few tricky questions or common inquiries related to your website. This could be anything from “What are your opening hours?” to “How do I make a return?” The idea here is to see if the chatbot can handle a variety of questions without getting confused.
Pay attention to any delays or weird answers. If the chatbot takes too long to respond, or if the answers are off, jot these down. These are clues on what needs fixing.
Also, see how it acts on different devices. Check it on your phone, tablet, and computer. You want everyone to have a good experience, no matter how they browse your website.
If something’s not right, don’t worry. It’s all part of the process. This is why we test. Go back, tweak the settings or the code, and test again. Keep at it until you’re happy with how everything works. This step is super important. It makes sure your visitors get the help they need when they use the chatbot.
Tips to Optimize ChatGPT Plugin Usage on Your Website
Getting the most out of the ChatGPT plugin on your site isn't just about correct setup. It also involves some fine tuning. After setup, play around with the plugin. This helps you work out what makes it more efficient and helpful. Here're some tips to get you started:
- Choose the right spot: Place the chat window where it’s easily visible but not intrusive. Bottom right corner is a popular choice.
- Customize the chatbot's name: Give it a friendly, personalized name to make chats more engaging.
- Set an effective greeting: The greeting message can define the tone of a conversation. Make it welcoming and to the point.
- Train your chatbot: Feed it common questions or scenarios. This helps it learn how to reply accurately and usefully.
- Monitor and adjust: Keep an eye on conversation logs. If an issue keeps happening, tweak the settings. This gradually improves the bot’s performance.
- Prioritize user's privacy: Make sure users are aware that their chats are automated and that private info remains safe.
- Mobile optimization: Check your chatbot on various devices, especially mobile phones. Fixed any glitches to ensure a smooth experience.
- Use short, clear responses: Try to keep the bot's responses short and straightforward. This ensures users get the info they need quickly.
- Continual testing: Every now and then, run simple tests. This helps detect and fix any bugs.
Remember, optimizing your ChatGPT plugin is an ongoing process. It's like teaching a student. The more they practice, the better they become. So, embrace the setup. With a bit of patience and tweaking, you'll have a chatbot that efficiently helps your visitors.
Conclusion
Well, that's it! You have now walked step-by-step through configuring, testing, and optimizing the ChatGPT plugin for your website. This guide has been a real nuts-and-bolts review on how to make ChatGPT part of your web setup.
Remember, it's all about taking it one step at a time and double checking your chatbot's output to make sure it's serving your visitors effectively. Don't be afraid to adjust and experiment until you’re really happy with its performance.
It might take patience, but with your API key, some coding, tweaking and testing, you now have a chatbot ready for the world. Happy chatting!
Frequently Asked Questions (FAQs)
Is the ChatGPT plugin available for all website platforms?
The plugin's compatibility may vary. It's best to check OpenAI's documentation for specific platform support.
Can I use the ChatGPT plugin in different languages?
The multi-language support depends on the plugin's version and OpenAI's current capabilities.
How does ChatGPT handle sensitive user data?
ChatGPT is designed to prioritize user privacy but make sure to review OpenAI's privacy policy for specifics.
Can I integrate multiple ChatGPT bots on the same page?
It's technically possible but can be confusing for users. It's usually better to stick with one per page.
